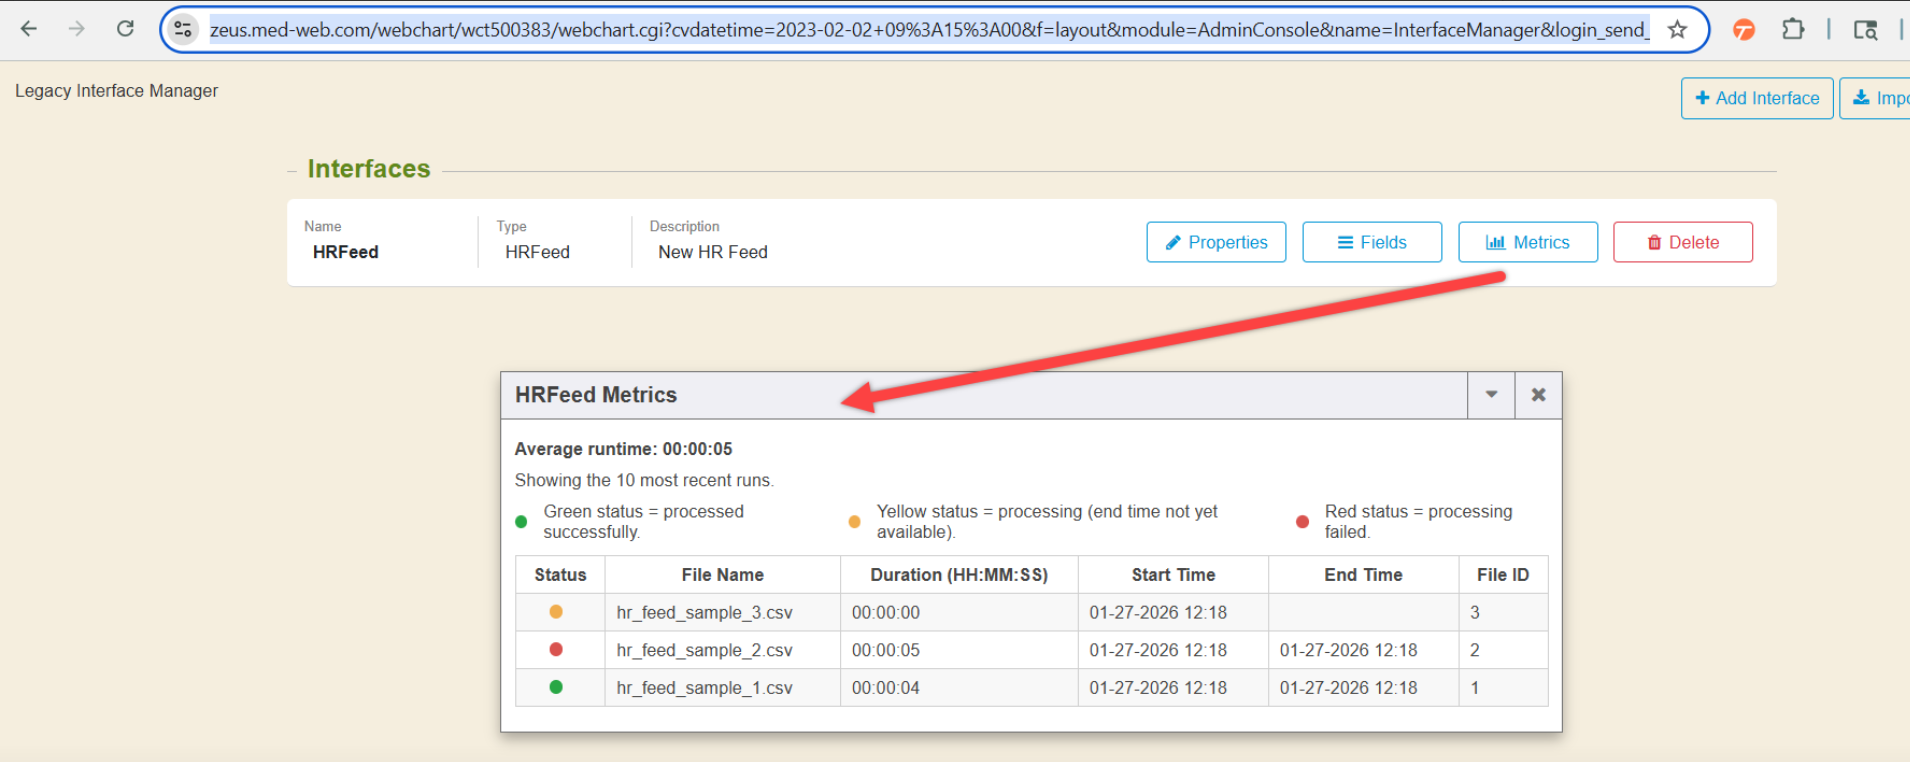
The Interface Manager contains a list of custom demographic or HR interfaces that have been configured. This module is not primarily used for custom Enterprise Health demographic interfaces. The Interface Manager editor gives system administrators the ability to manage specific patient fields that come over interfaces.
Interface List
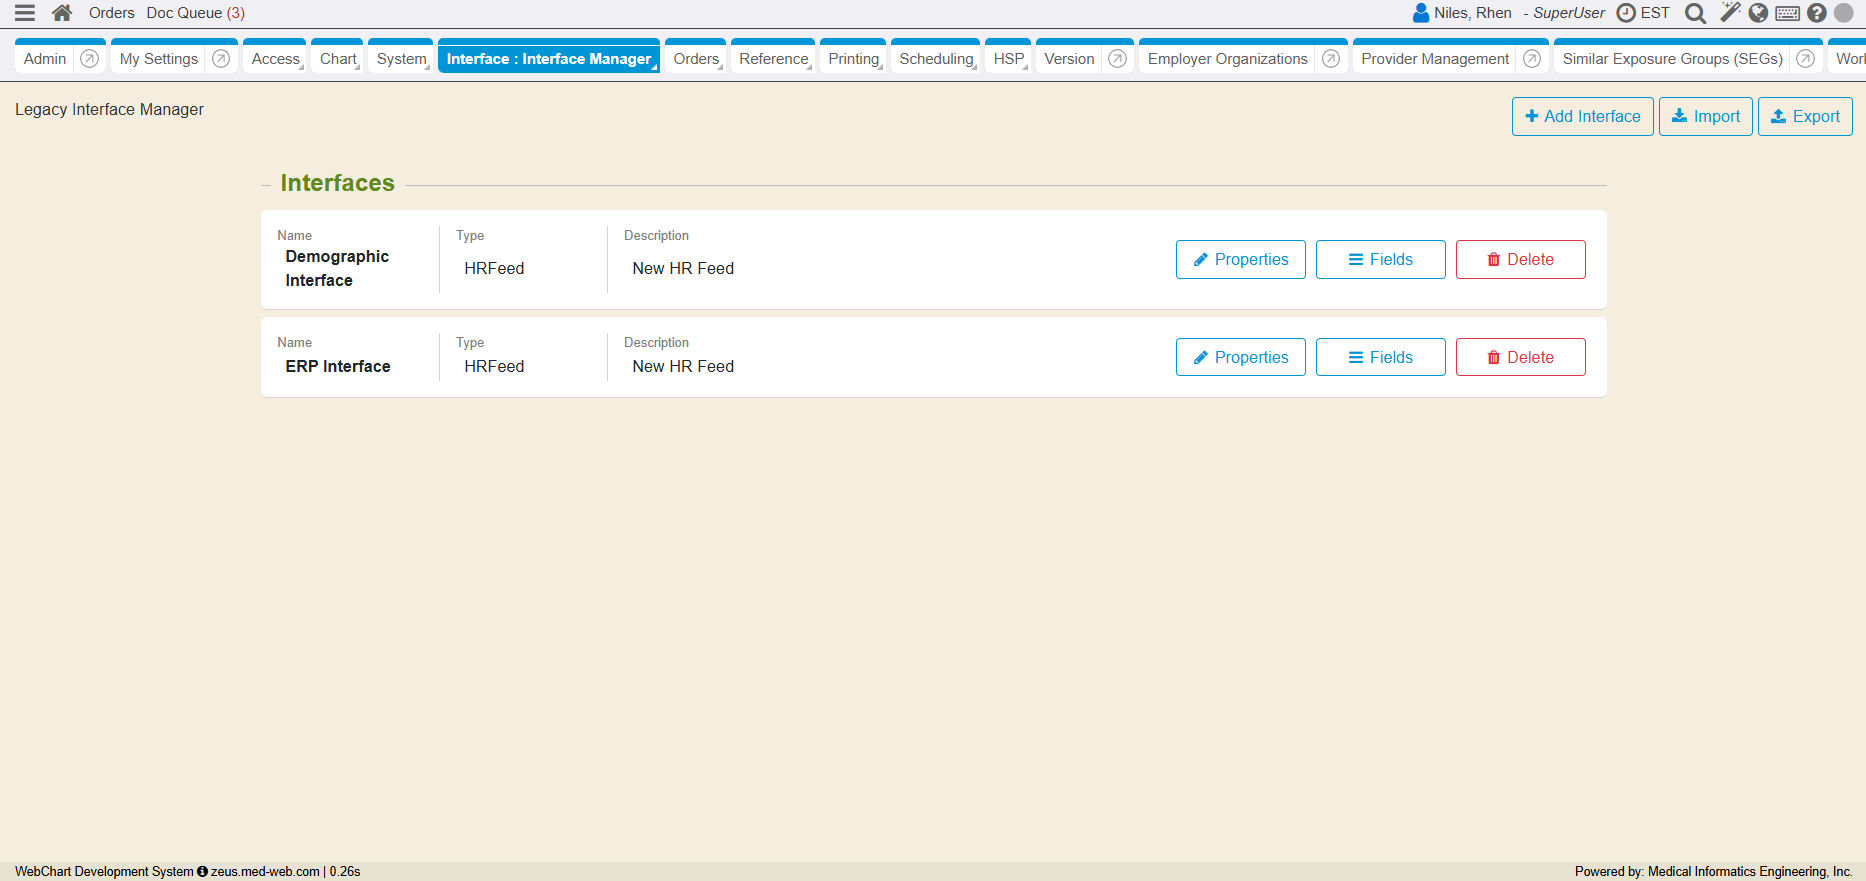
Navigate to the Interface Manager from the Control Panel. Any custom interfaces that have been configured will display in the Interfaces list. All of the current interfaces managed by this tool for the system will be listed under here. The Interface Name displays in the first column and will display in Bold. The Interface Type displays directly below it. The Interface Description will display in the second column. Additional options display on the right side of each interface listed.
Note: Users may toggle to the legacy Interface Manager by clicking the Legacy Interface Manager link located at the bottom of the Interface List.
Add Interface
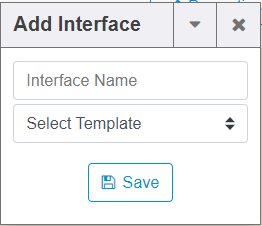
To Add a new Interface, click the Add Interface button. When clicked, a new window will open prompting the user to enter the Interface Name of the new interface and select the type of interface (Select Template) from a drop down menu. When both fields are filled, click the Save button and a new interface will be added to the list. All interface templates should come with default values, so once selected there should be no need to make any other changes unless there is custom work involved.
Properties
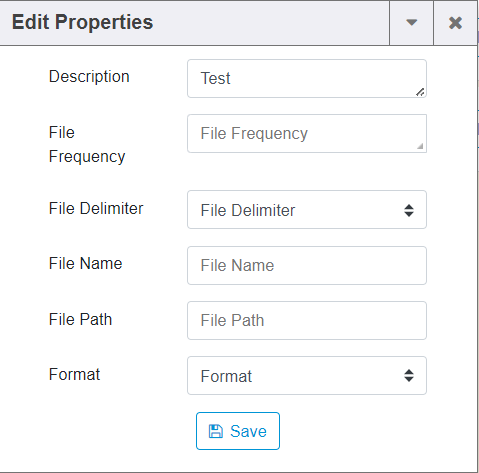
When the Properties button is selected, a new window will appear that will allow the user to insert data based on the type of interface. The properties are individual data points that are used by the interface for various purposes. Each window will be different based on the interface type.
HR Feed Properties:
Fields
When the Fields button is selected, a new window will appear that will allow the user to insert new rows of data that make up the incoming data for the interface. Each window will be different based on the Interface Type.
HR Feed Example:
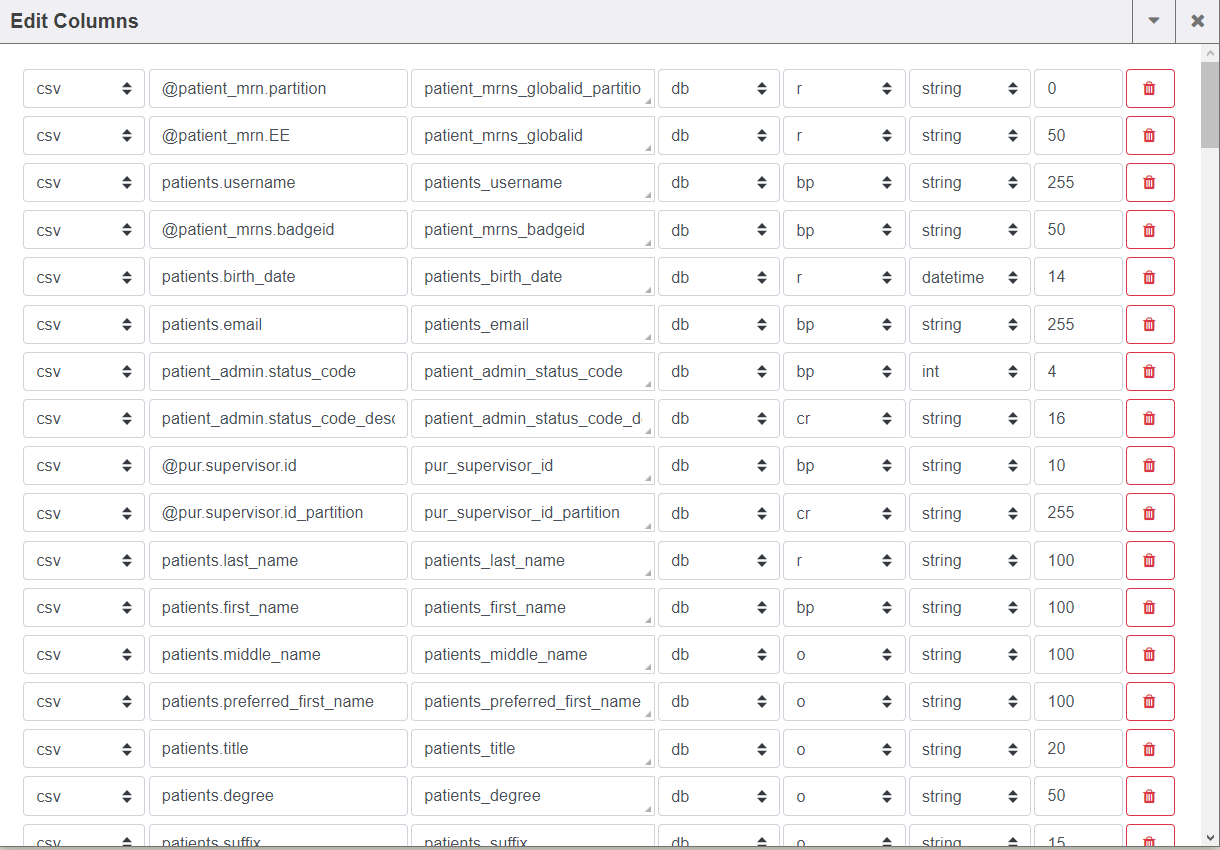
Edit Columns
The Properties window for an interface is static. Users can only enter what values exist.
The Fields window will allow users to add and remove items from the list. This will be used to add or remove values that will be later saved into the configuration. For HR Feeds this means you can remove unused column headers from the Fields, or insert new custom column headers for a specific client.
The removal of a row can be accomplished by pressing the delete button on the right hand side of the row you want to remove.
The addition of a row can be accomplished by pressing the Add Field button at the bottom of the window. This will create a new row with blank controls for you to fill out.
Anytime the user presses the save button for either the Properties or Fields the interface will have its install function called to apply the changes.
Delete
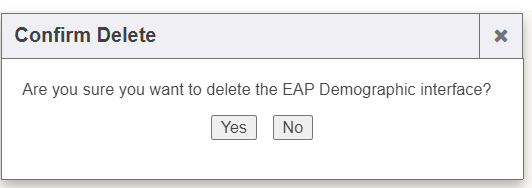
When the Delete button is selected, the row will be marked as inactive and removed from the list. Users will be asked to confirm before deleting the interface.
Import/Export
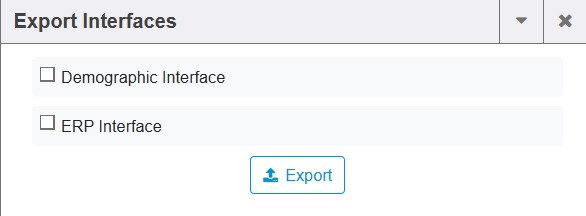
When the Export button is selected, the user will be prompted to select what interfaces to export by selecting checkboxes and then pressing Export again on the popup window, which will download a JSON file.
When the Import button is selected, the user is prompted to select a JSON file generated by the Export feature from their computer to upload. Once uploaded the configuration for all interfaces will be loaded into the system and re-populate on screen.
HR Feed Runtime Metrics
For systems on RC202509 and newer, Administrators with access to the Interface Manager may view HR feed processing metrics. The metrics will display the HR feed status (Successful, Processing, or Failed), as well as the HR feed file name, run time duration, as well as feed start and end times.